3 Must-Know Tips and Tricks for Mastering iPhone Photography
Apple not only has great cameras, but also some really cool tools that can help you get better at photography.
3 Must-Know Tips and Tricks for Mastering iPhone Photography: Everyone knows that the camera on the Apple iPhone is one of the best on a smartphone. The story doesn’t end here, though.
Apple not only has great cameras, but also some really cool tools that can help you get better at photography. This piece might give you some new ways to play with your iPhone camera if you like to take pictures that look good. Here are three great things you can do with your iPhone camera.
3 Must-Know Tips and Tricks for Mastering iPhone Photography:
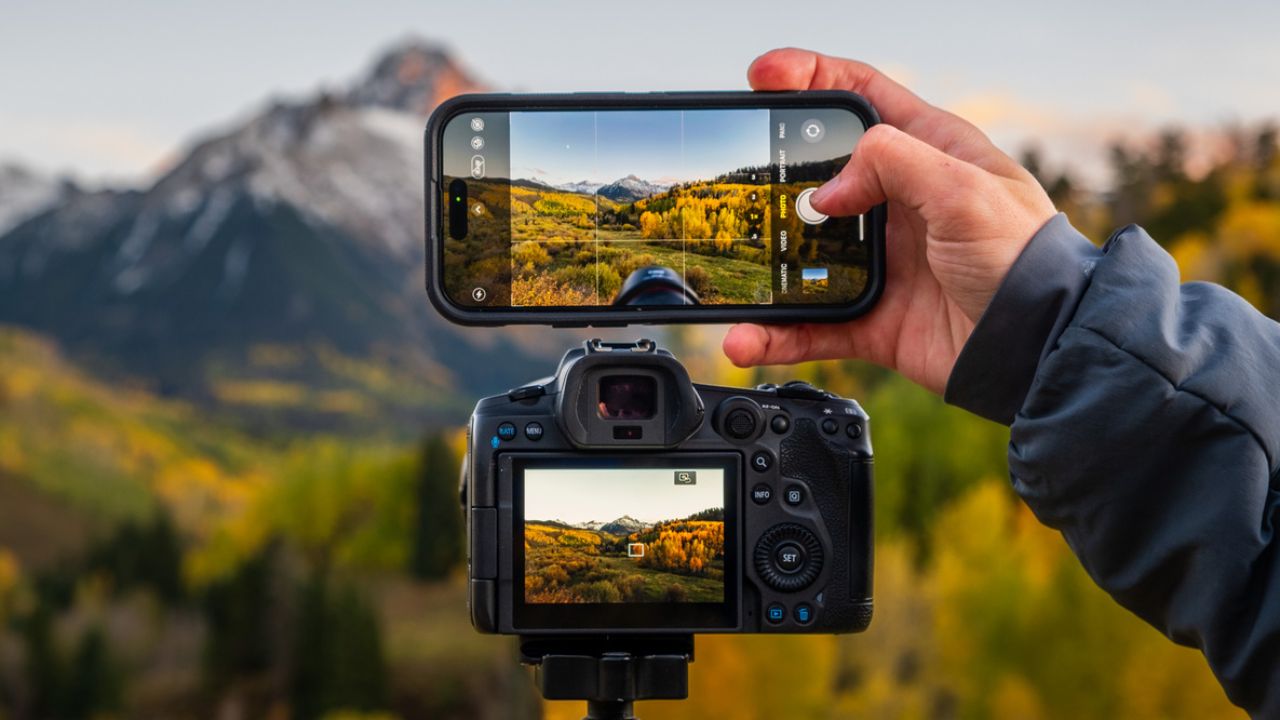
It has Apple ProRaw and ProRes
Apple has added ProRaw and ProRes modes to iPhones so that they can record better quality video. RAW pictures are something that everyone who knows about cameras should know about. These pictures are the best ones your camera can make. ProRaw and ProRes from Apple only work that way. You can take great pictures and videos with these tools.
ProRaw is good for taking pictures, and ProRes is good for making movies. You may have heard of web shows and movies that were shot on iPhones. Many of them were recorded in ProRes mode. This means that it might not make a big difference in your random photography, but it’s perfect for professional photography!
Check Out: Health Benefits of Morning Walks vs. Evening Strolls
Tricks for live photos
When you turn on “Live Photos” in the Apple Camera app, it takes a picture and turns it into a short video clip. To make it work, tap the round button in the upper right part of the Camera app. ‘Live Photos’ lets you add amazing and creative effects to photos, so things could get really interesting now. You can use Loop, Bounce, and Long Exposure after taking a Live shot. Let me now tell you what these affects can do:
‘Loop’ does exactly what its name says. Just like I said before, when you take a Live picture, a short movie is also recorded. Loop makes that short movie play over and over again.
Bounce: This tool works like Instagram’s Boomerang. The short movie is played back and forth in a loop instead of playing it over and over.
Long Exposure: This is something that all photographers know about. Long exposure is a picture that gets all moving things in every frame for people who don’t know what it is. Like, if you take a picture of traffic, you’ll see lines of lights.
Set a new FPS and video size
Apple products also make it easy to change the video size and frame rate. You can change from “HD” to “4K” and from “24” FPS to “60” FPS.
Here is a useful tip: iPhone movies sometimes have a blinking sound that won’t stop, which can be very annoying. That can be fixed by changing the FPS as well.
Scan left on the Camera app to get to Video. Then, change the size and FPS. You can see the resolution and FPS in the upper right spot. Before you start recording, all you have to do is tap on them to change the FPS and quality.